
It's Cuffing Season
And scrunching and stuffing. It’s a 365-day-a-year thing if you ask me

Coming off sale week and successfully resisting the urge to shop (aside from baby clothes for my nephew), I wanted to write about making the clothes you already own feel fresh again and wearing them not just as clothes but as thought-through, personalized outfits.
I recently had a styling appointment with a client who had an impeccable wardrobe. It was a mix of a great Back Pocket Wardrobe, sprinkled with personal pieces, the kind of wardrobe that actually allows for play. But when you have a very solid wardrobe and still feel uninspired, it’s usually a sign of two things: a) you may actually own too much, and it’s overwhelming (maybe take a beat on the sales, lol), and b) getting dressed isn’t really about the components. It’s about the nuances of how you put them together.
Here’s a crash course in making your existing wardrobe more interesting, personal, and engaging, using the right cuff, scrunch, and stuff.
The Shirt
I’m not one for rules, but I do believe that there is a correct way and an incorrect way to cuff a shirt.
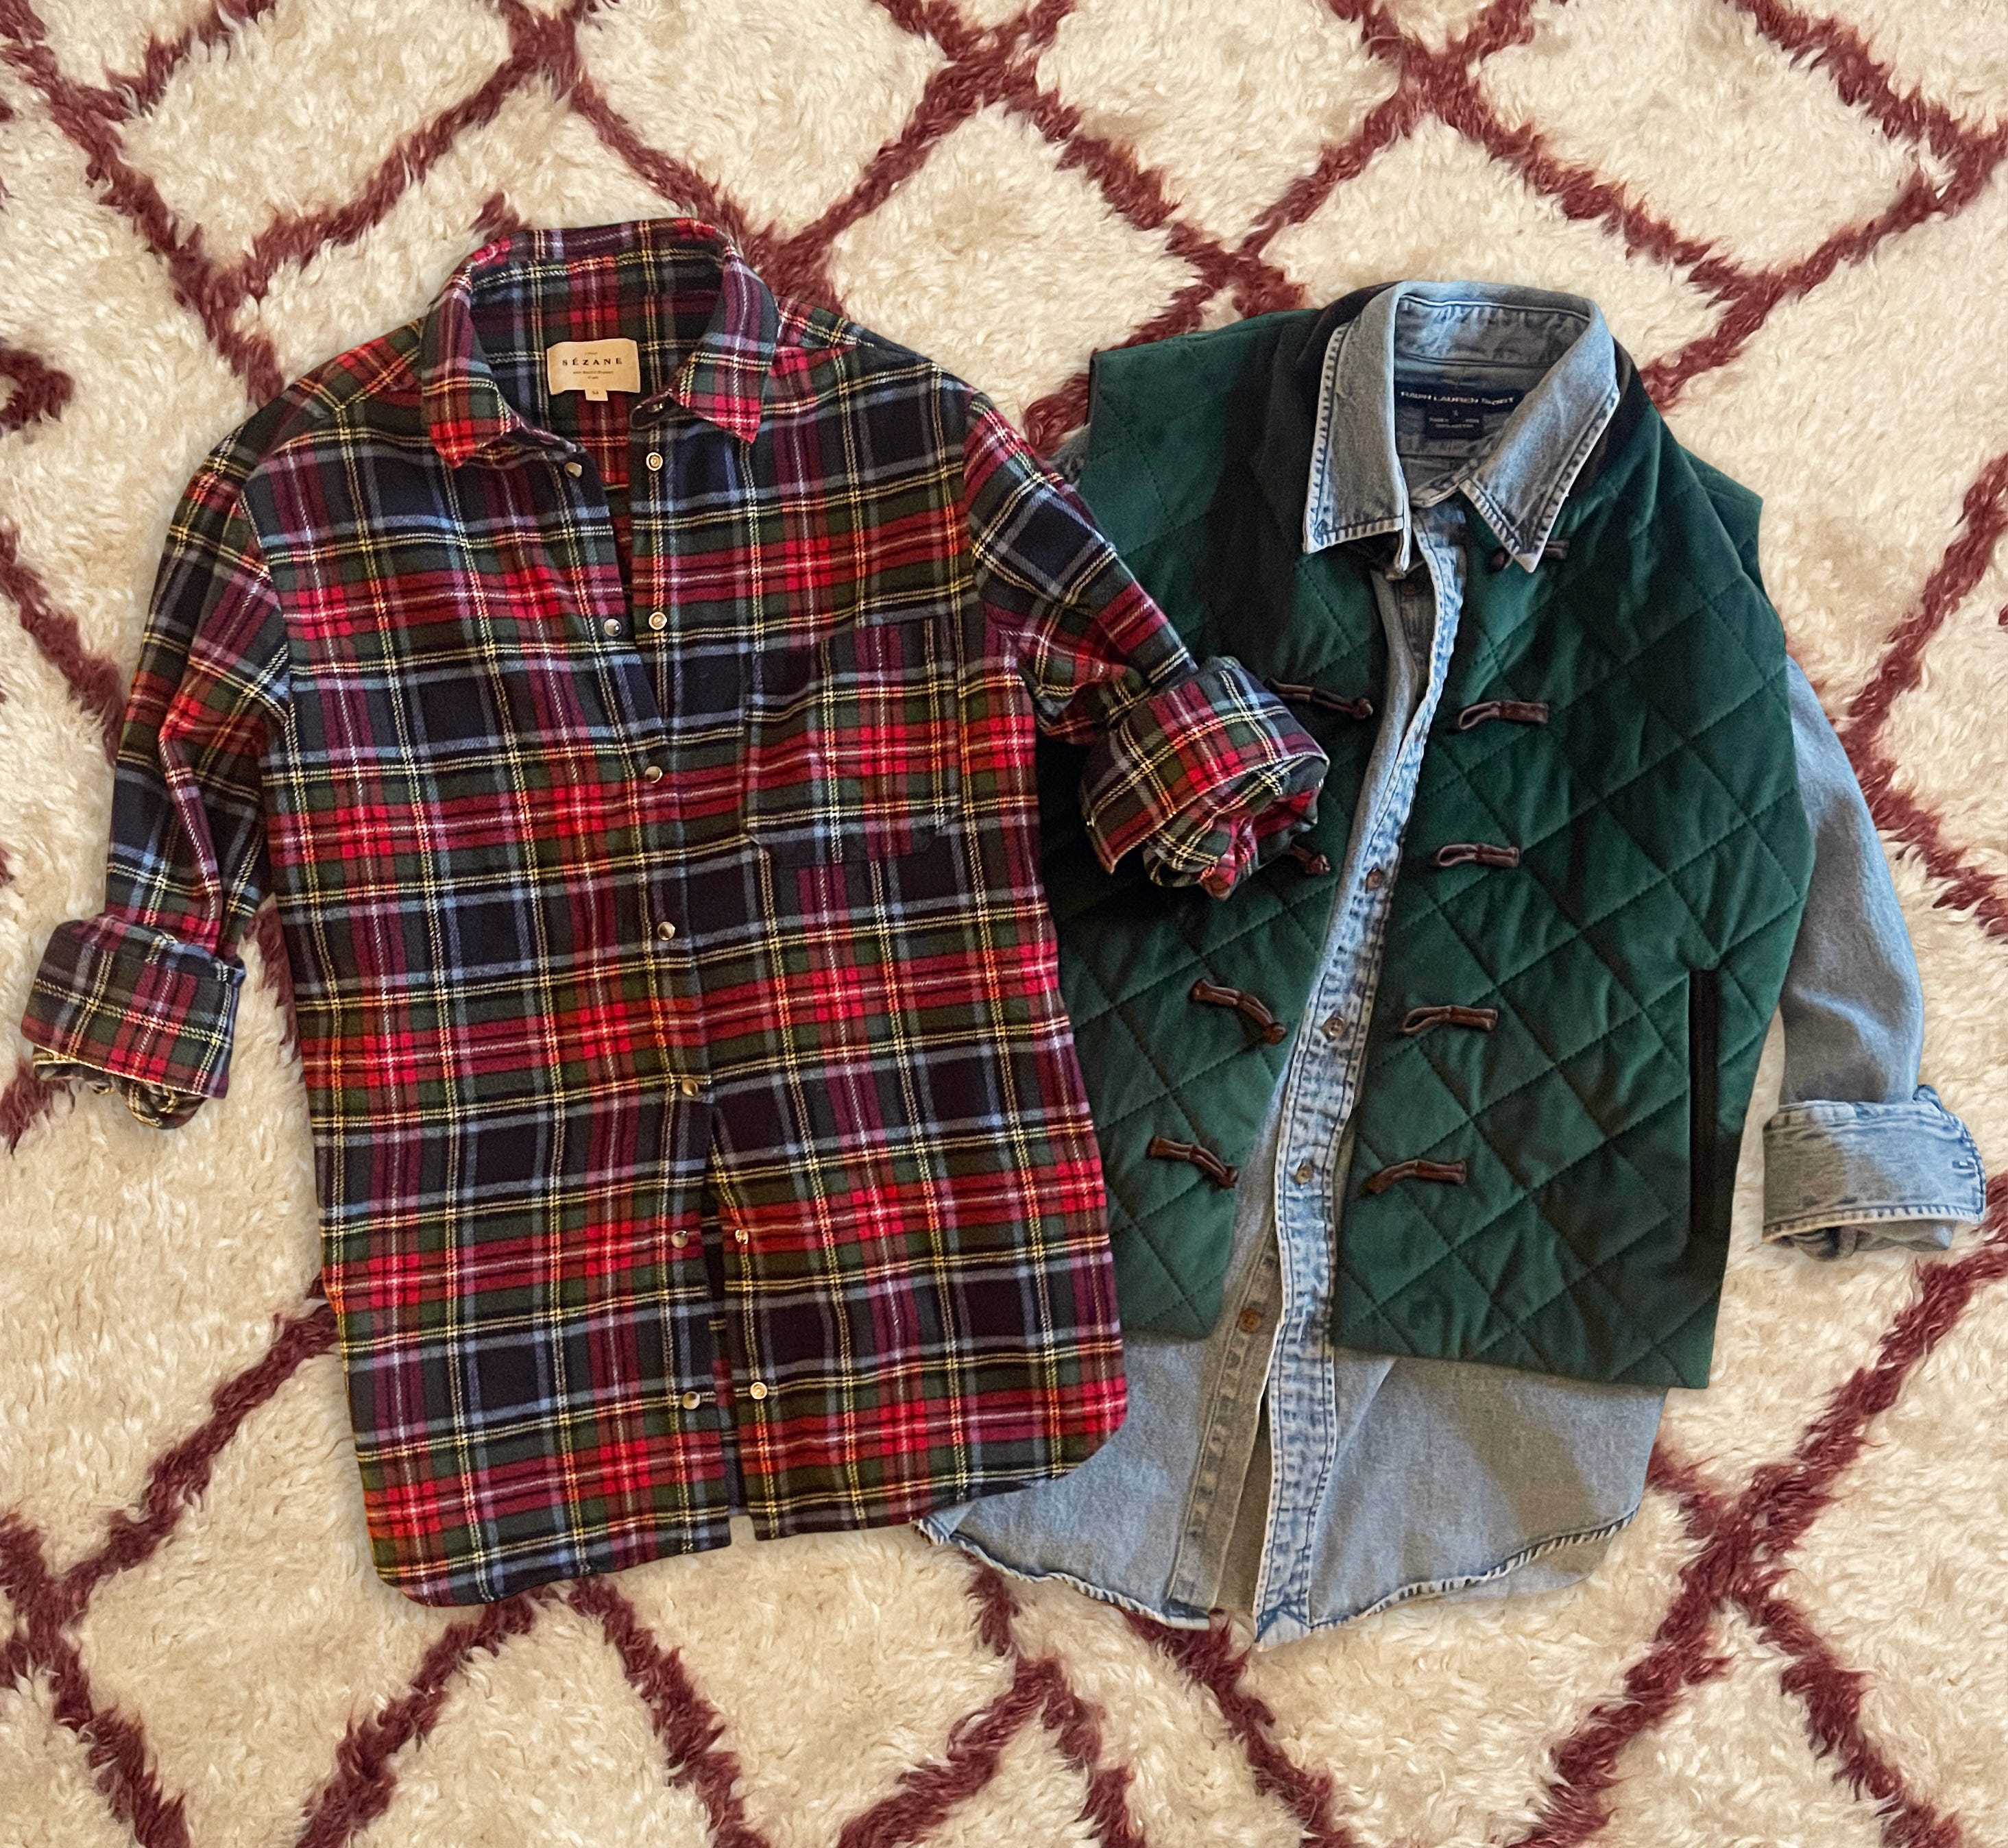
About a year ago, I wrote a story on layering that included a step-by-step guide to cuffing a shirt sleeve. So I refreshed it here, re-making pretty much the same images (lol):
1. Roll the sleeve about three-quarters of the way up your arm.
2. Roll the remaining sleeve fabric from below the cuff once more (sometimes this isn’t necessary, depending on the shirt).
3. Fold the cuff down so it sits neatly on top.
4. Adjust until it looks intentional, with a little messy zhuzh.
You can also pre-roll the shirt off your body and then put it on, already rolled. It works the same way as tying a tie in advance. Nobody has to know.
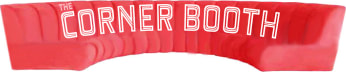
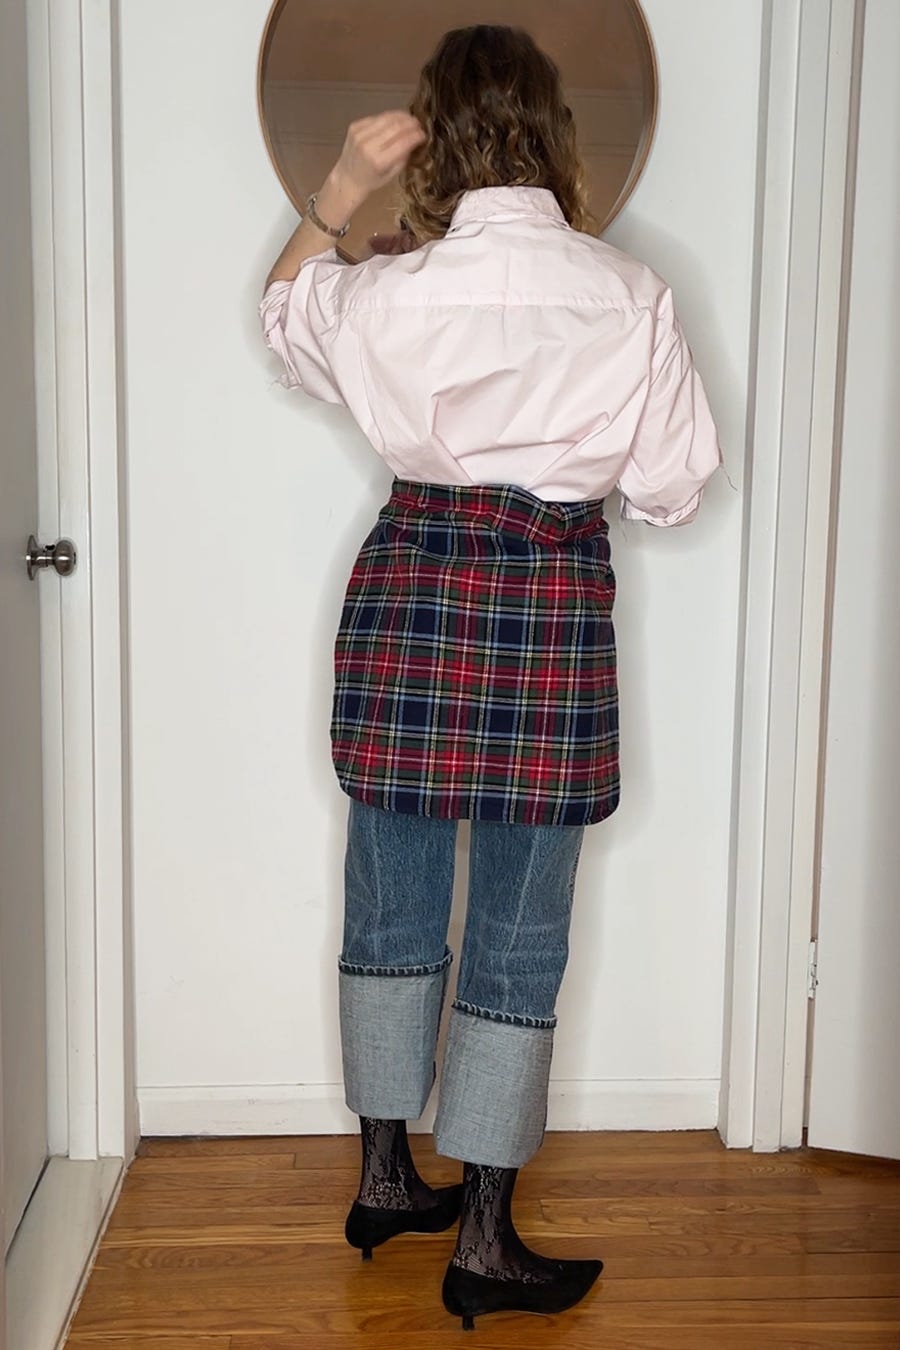
Plus, how to cuff a shirt when there’s an outer layer involved:

Of course, this depends on the size of both the shirt and the jacket, as well as the weight and structure of your outer layer. Mine here (the vintage loot is so good!) is a thick cotton with a shirt-like cuff, which makes the whole process easier.
The key is that the cuff is intentional. You’re not jamming your sleeve up your arm. You’re styling. It takes a few extra seconds, so maybe set your morning alarm a minute earlier.
The cuff also helps unify the layers. And ’tis the season for layering!
The Pants
Cuffing also applies to pants, and, like sleeves, it can be done masterfully.
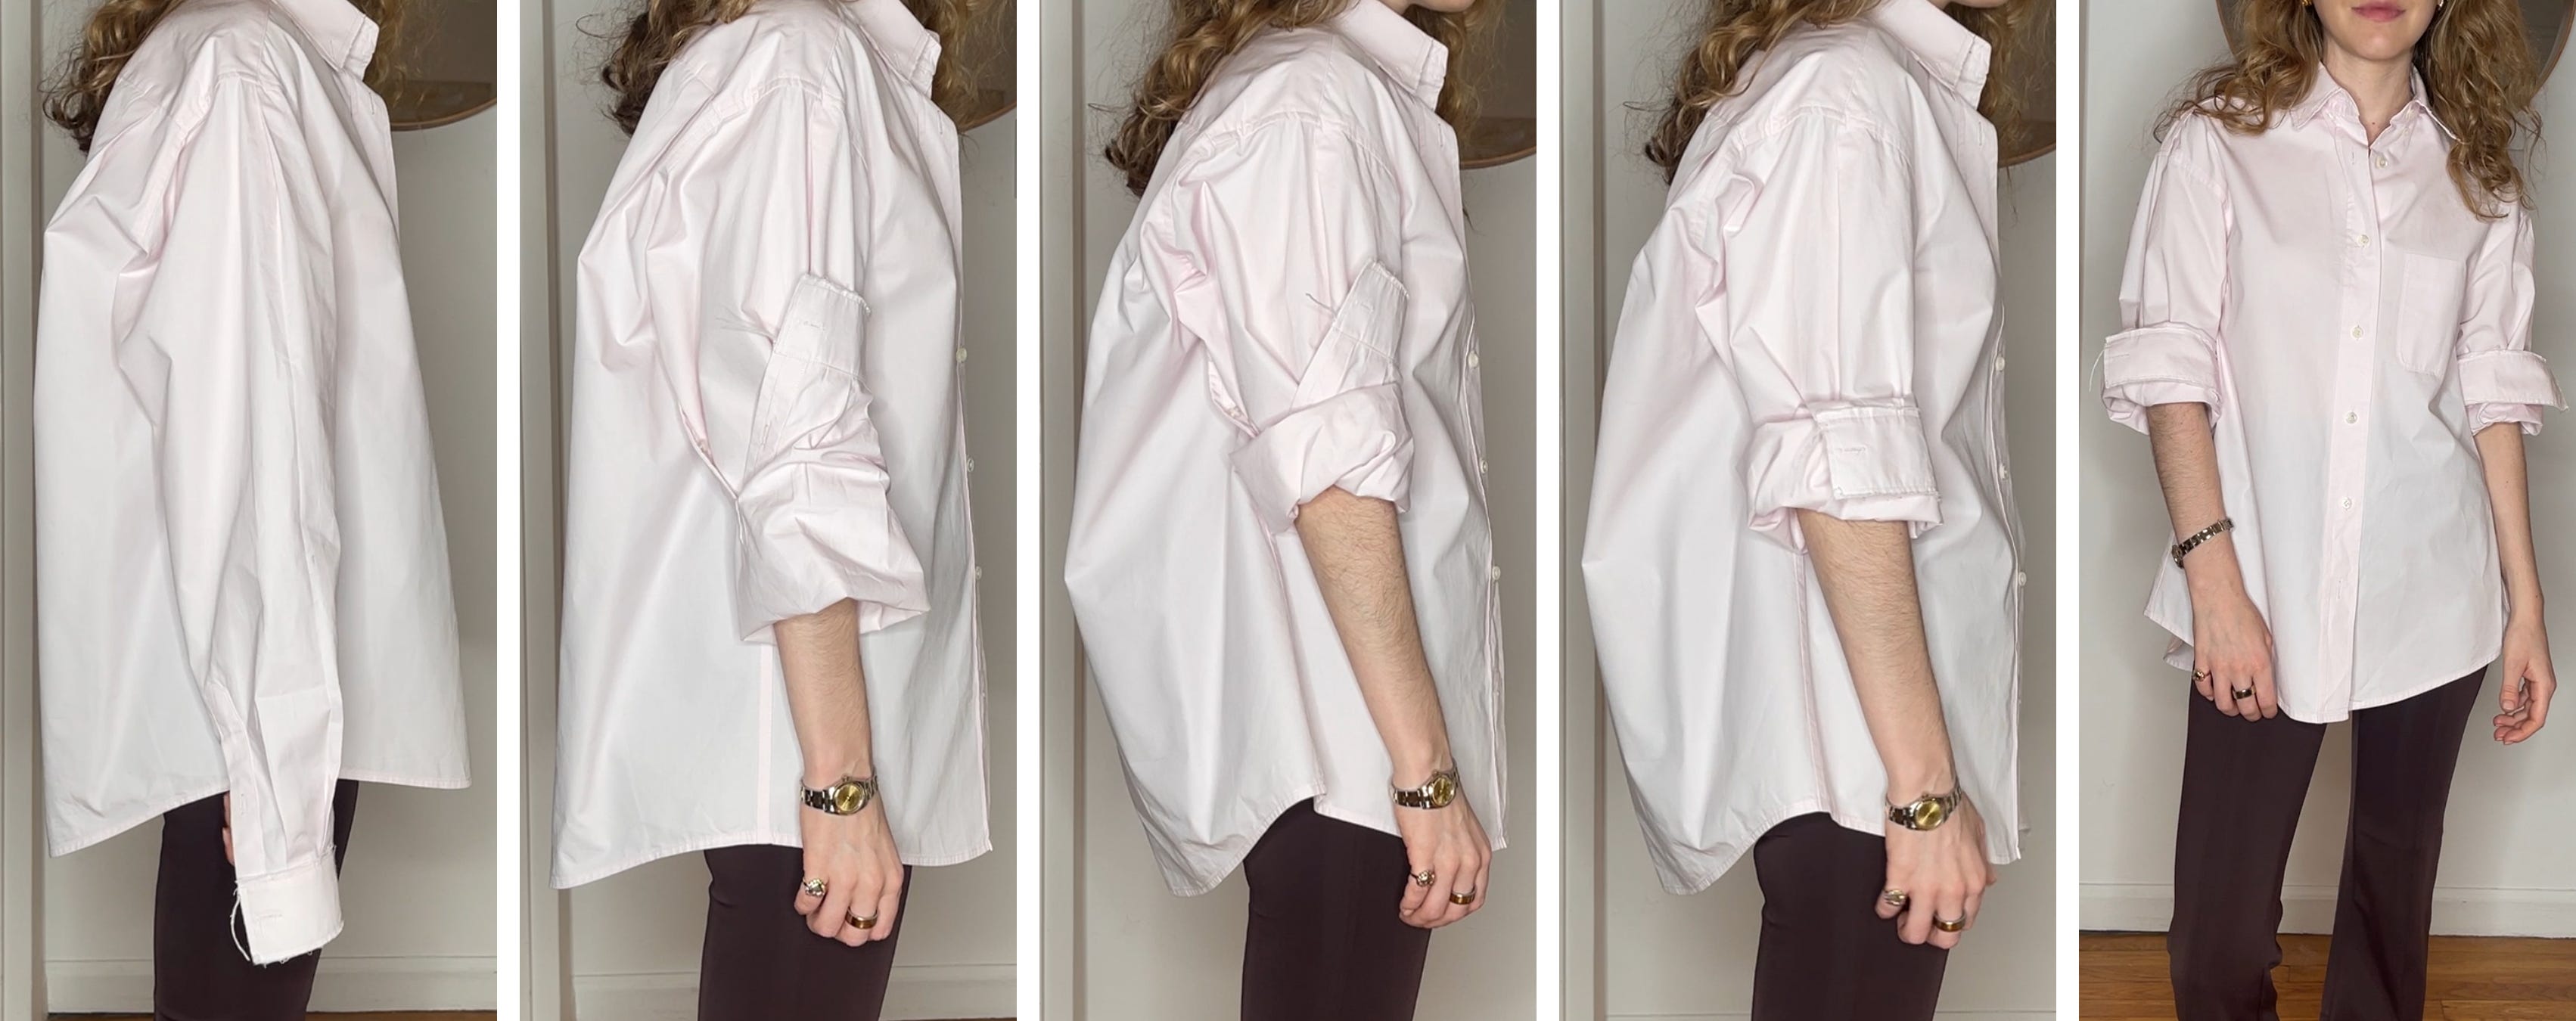
It comes down to the leg of your pants, your choice of shoes, and the silhouette that makes you feel best. In my opinion, the easiest pants to cuff are those with some weight, such as non-stretch denim. They need a little heft so the cuff stays put. They should also be straight-leg. Not too wide (the cuff will collapse) and not too skinny. If you’re familiar, think: Levi’s 501 in a size or two bigger.

This is the scrunched cuff. The trick is to roll the bottom hem just enough to flip it up, then roll again to create a substantial fold, about three to four inches, and then scrunch it down. It’s much easier to do this while you’re wearing the jeans because the natural angle and pull of gravity help the cuff fall where it should.
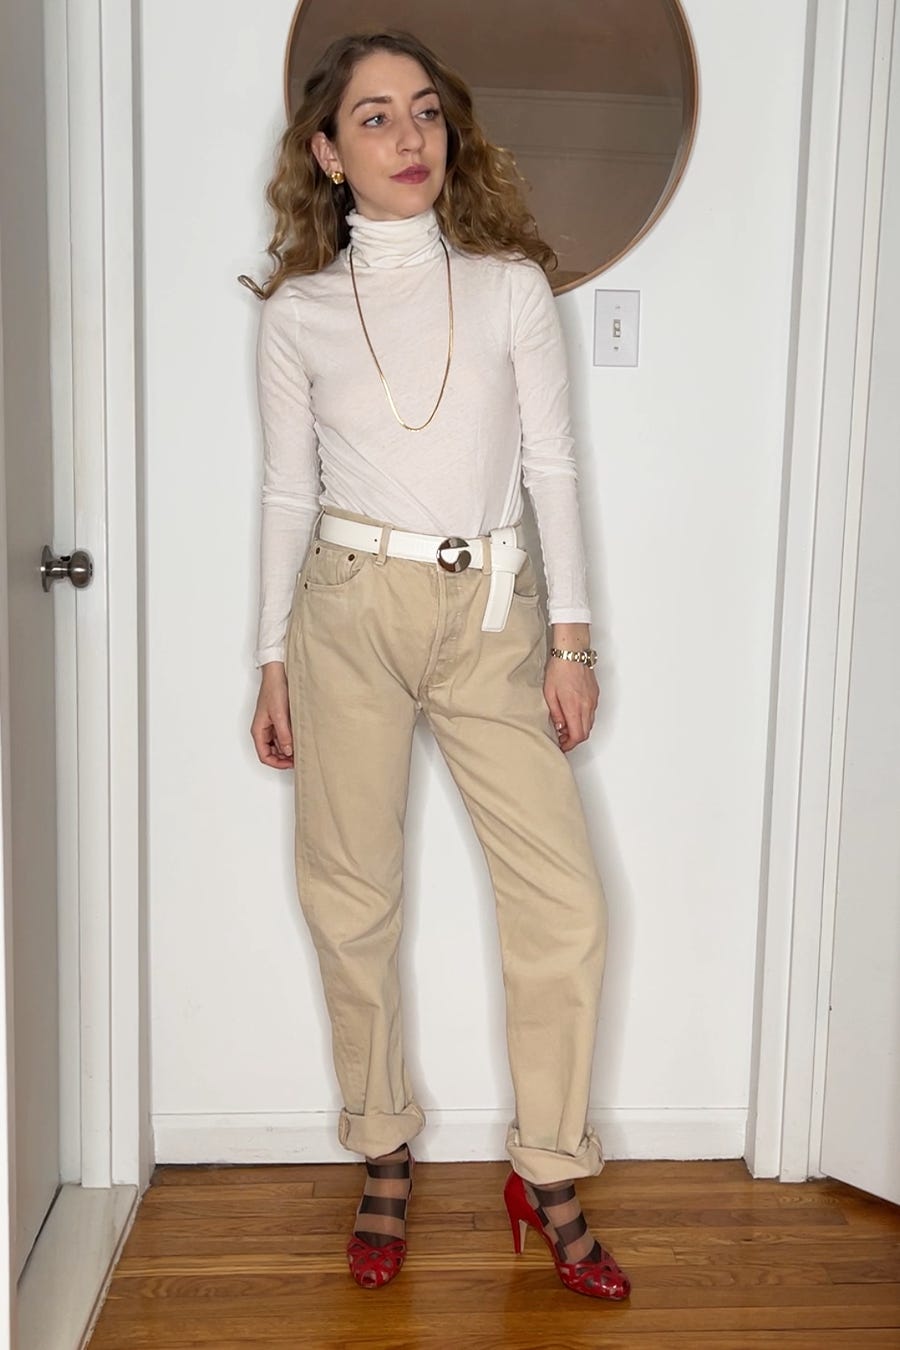
This cuff style strikes the right balance of casual to complement dressy shoes while still highlighting them. It also creates a visual anchor for a Cypress silhouette, which is typically uniform from top to bottom.
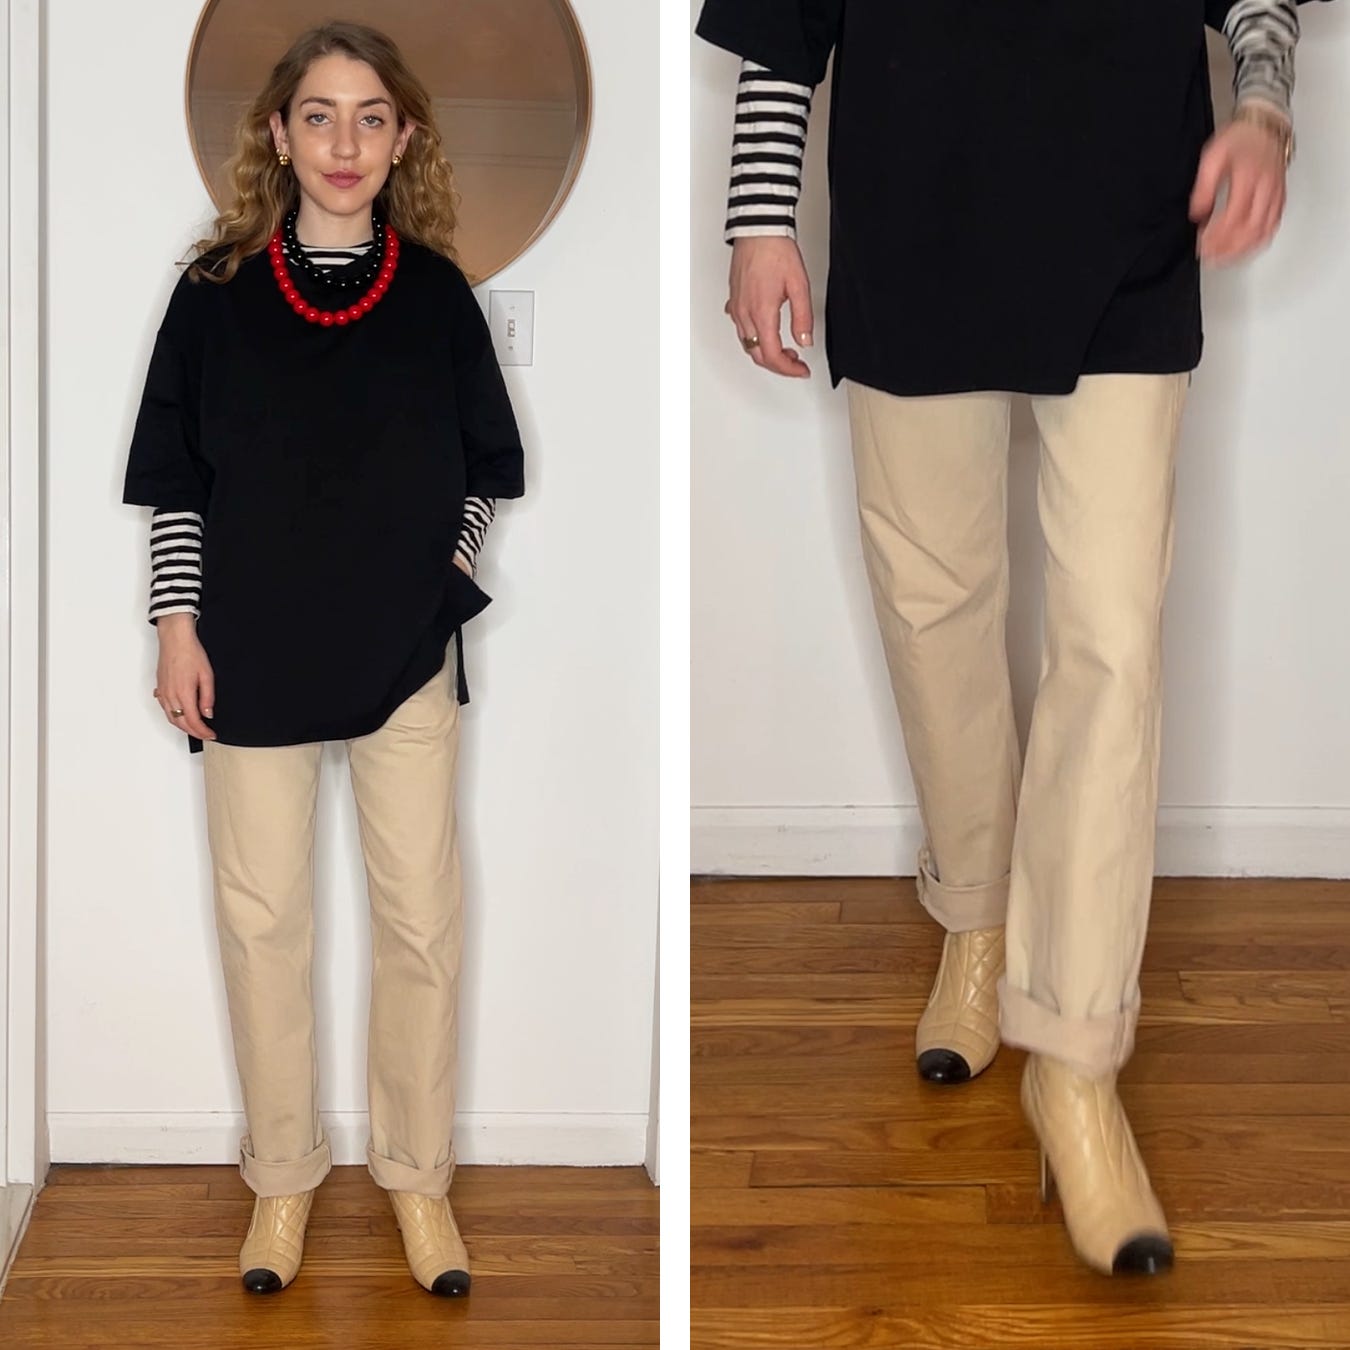
A tall boot that fits close to the calf (or a mid-height or ankle boot, as long as the pant cuff still covers it) is a great way to connect your pants and boots while maintaining a deliberate focal point at the cuff.
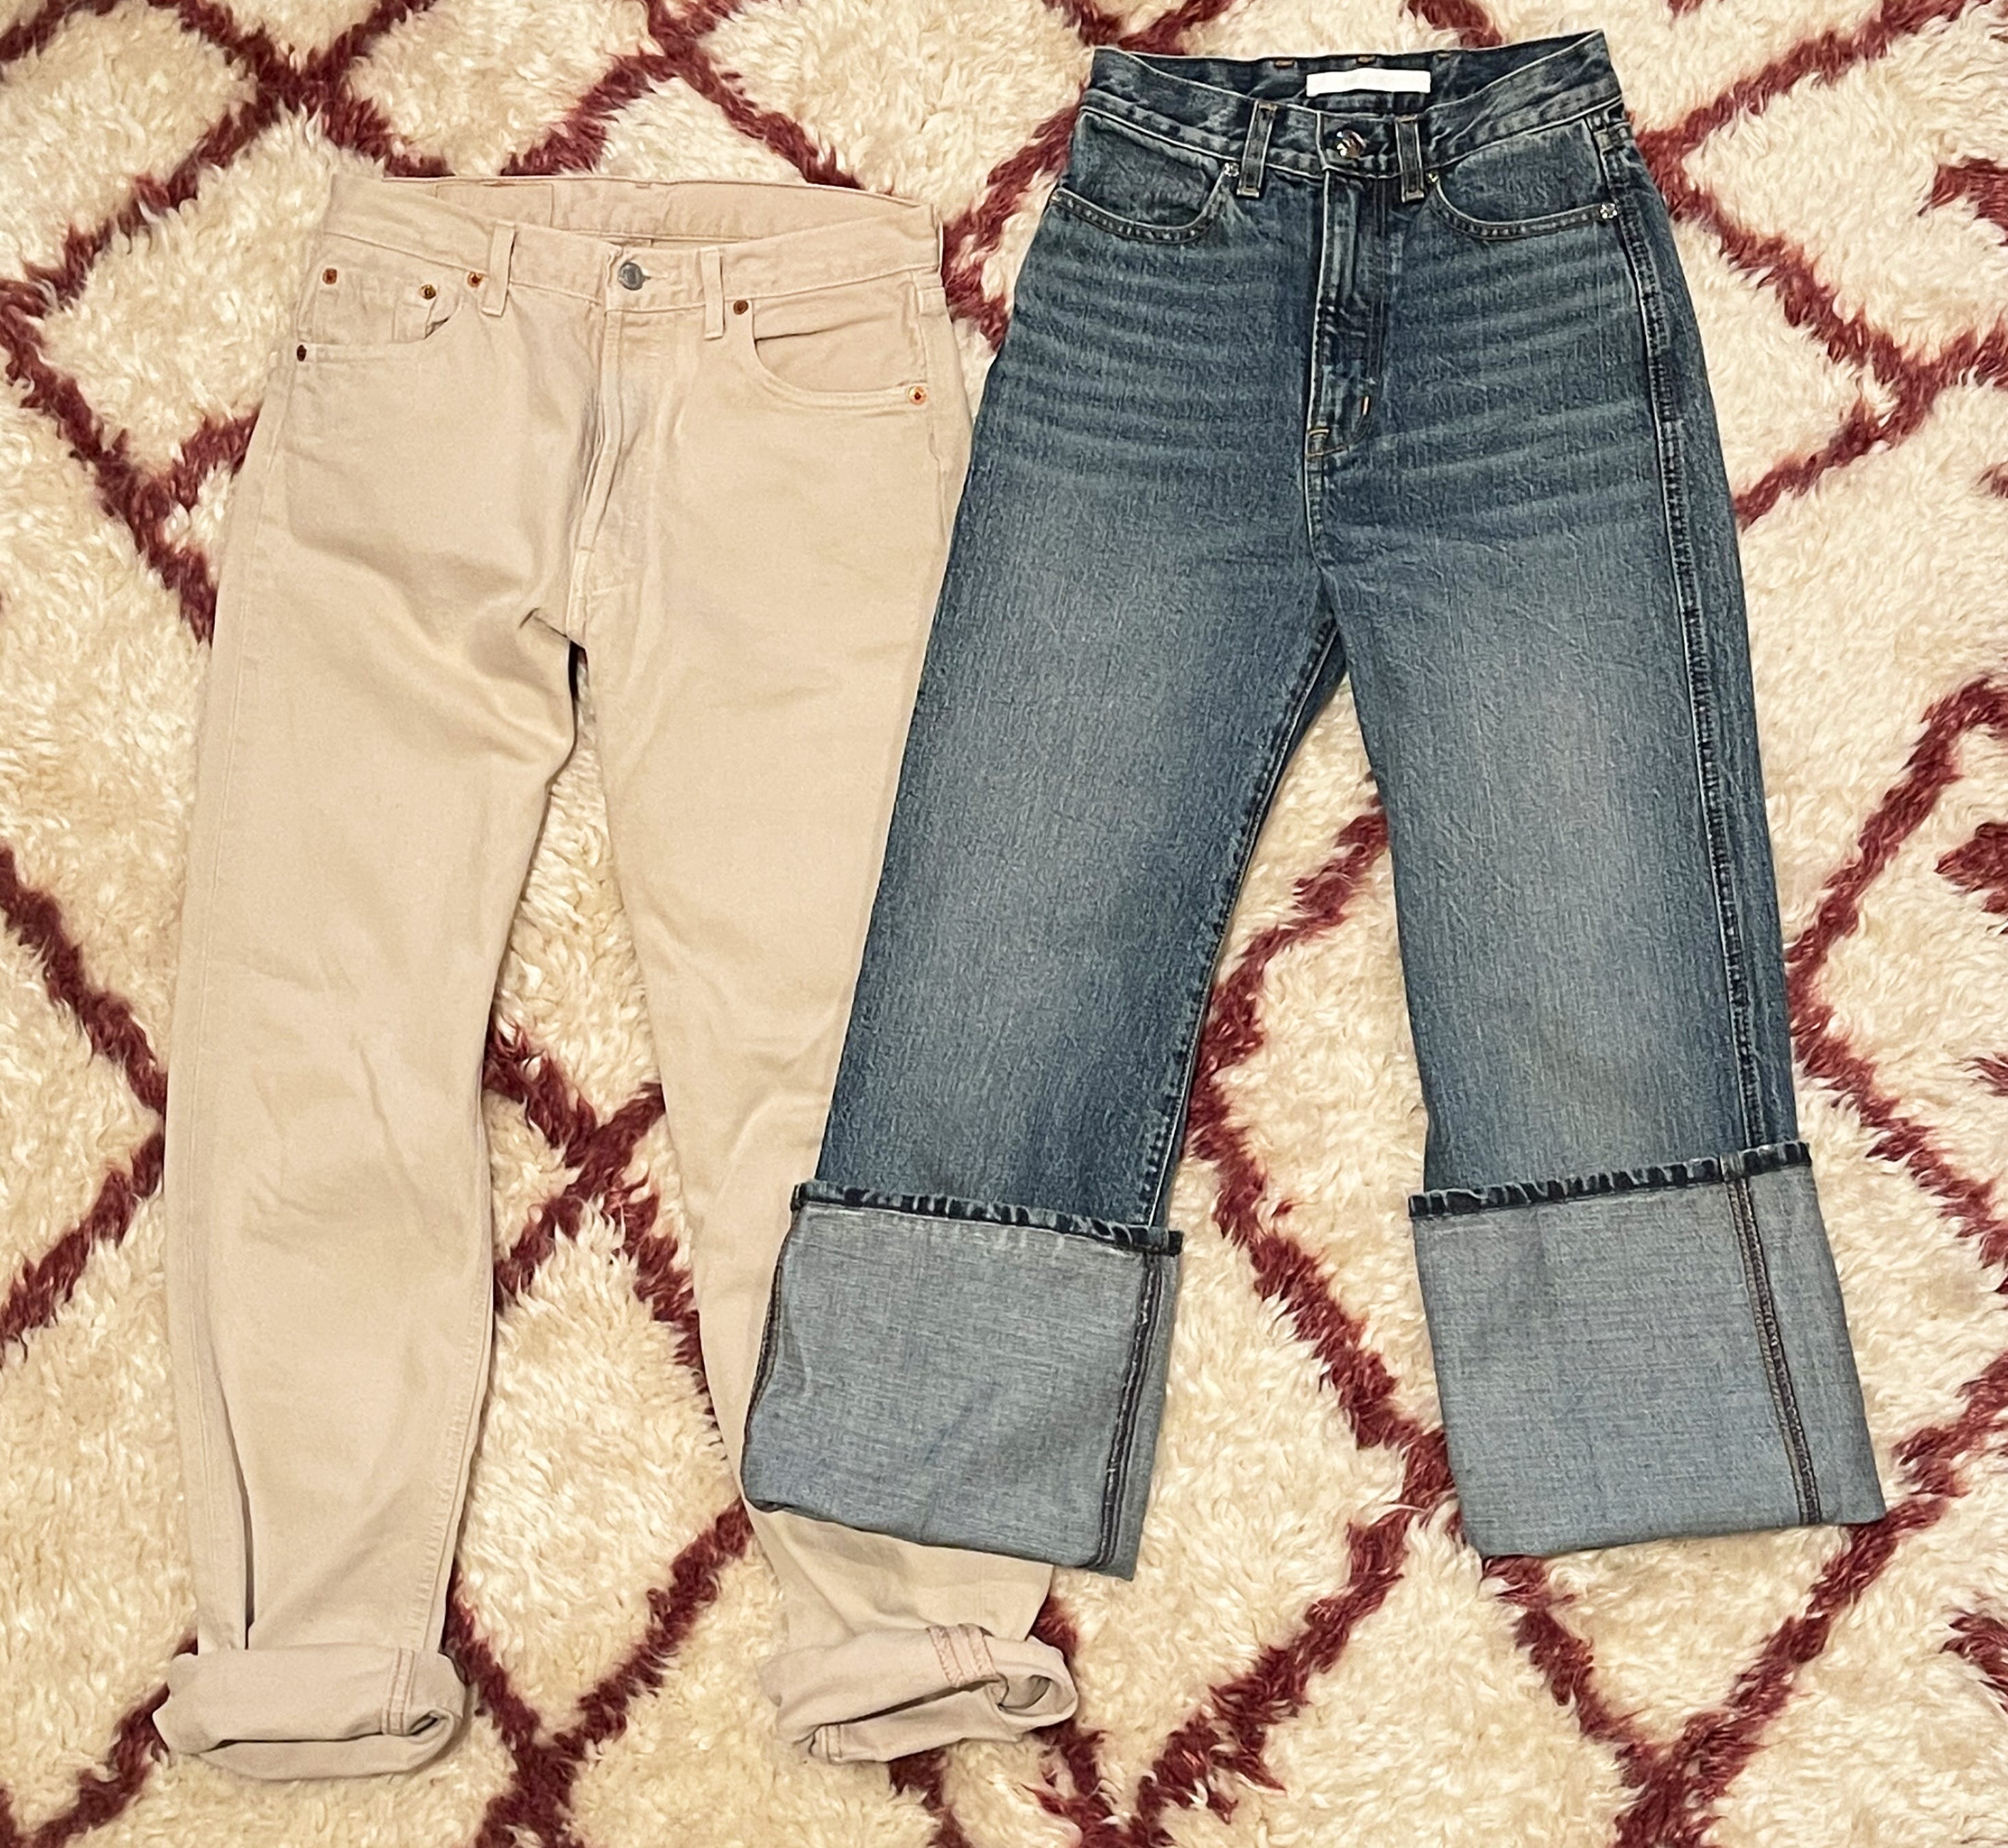
An exaggerated wide pant cuff can also ground your outfit. And it’s not an “oops, my pants are too long” moment. It’s a stylistic choice.
I am 5’3 and a half, and these jeans are just long enough to make a giant cuff without veering into pedal-pusher territory.

The cropped length of the cuff lets socks (or tights!) and shoes take center stage, and the cuff's complexity allows you to keep the upper half pretty mellow. It’s all about visual balance.
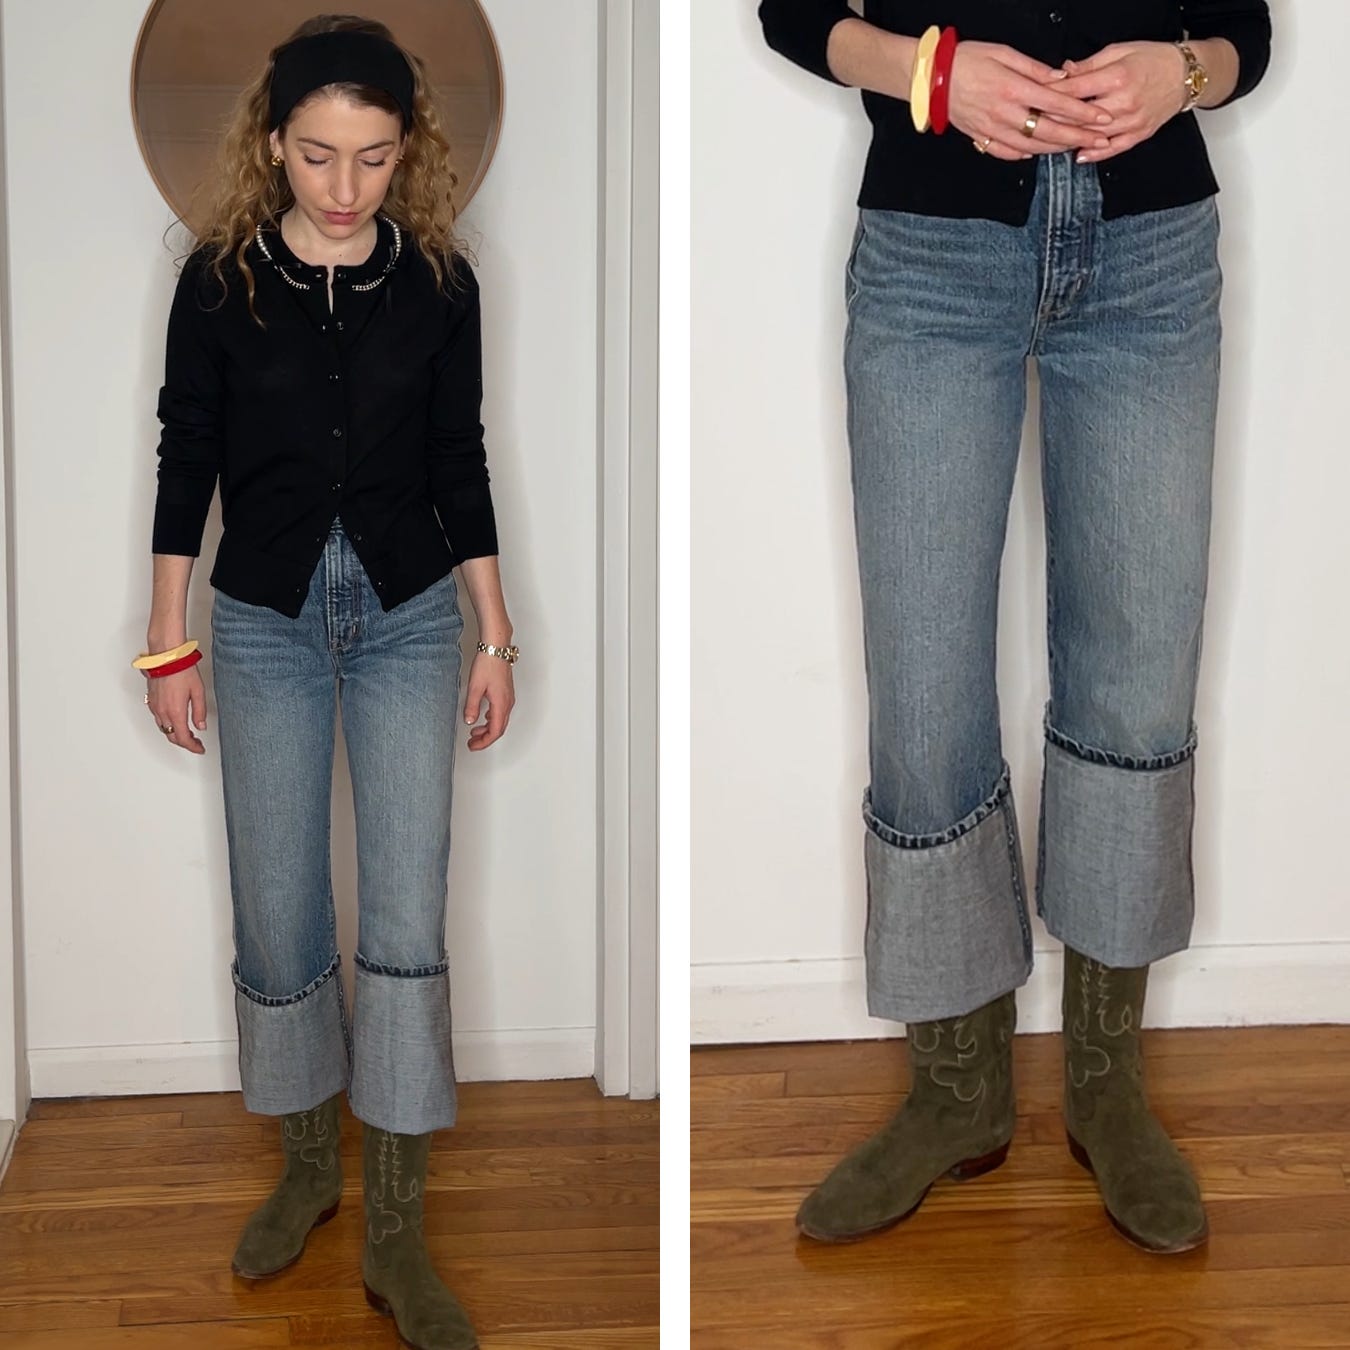
My jeans here are loose enough that, once cuffed, they umbrella over the boot a little. It gives the whole boot-and-jean moment a more interesting, unexpected shape.
There’s also the “stuff” of the pant leg, which is its own little nuance.
All you need is a boot.
The key is finding the right volume in the pant, specifically in relation to the boot’s shaft. The puddle (what I’m calling the fabric’s overflow) works best when it isn’t overwhelming. The pants shouldn’t be too wide or too flowy. A high sock, worn over the pants and inside the boot, can also help keep everything in place.
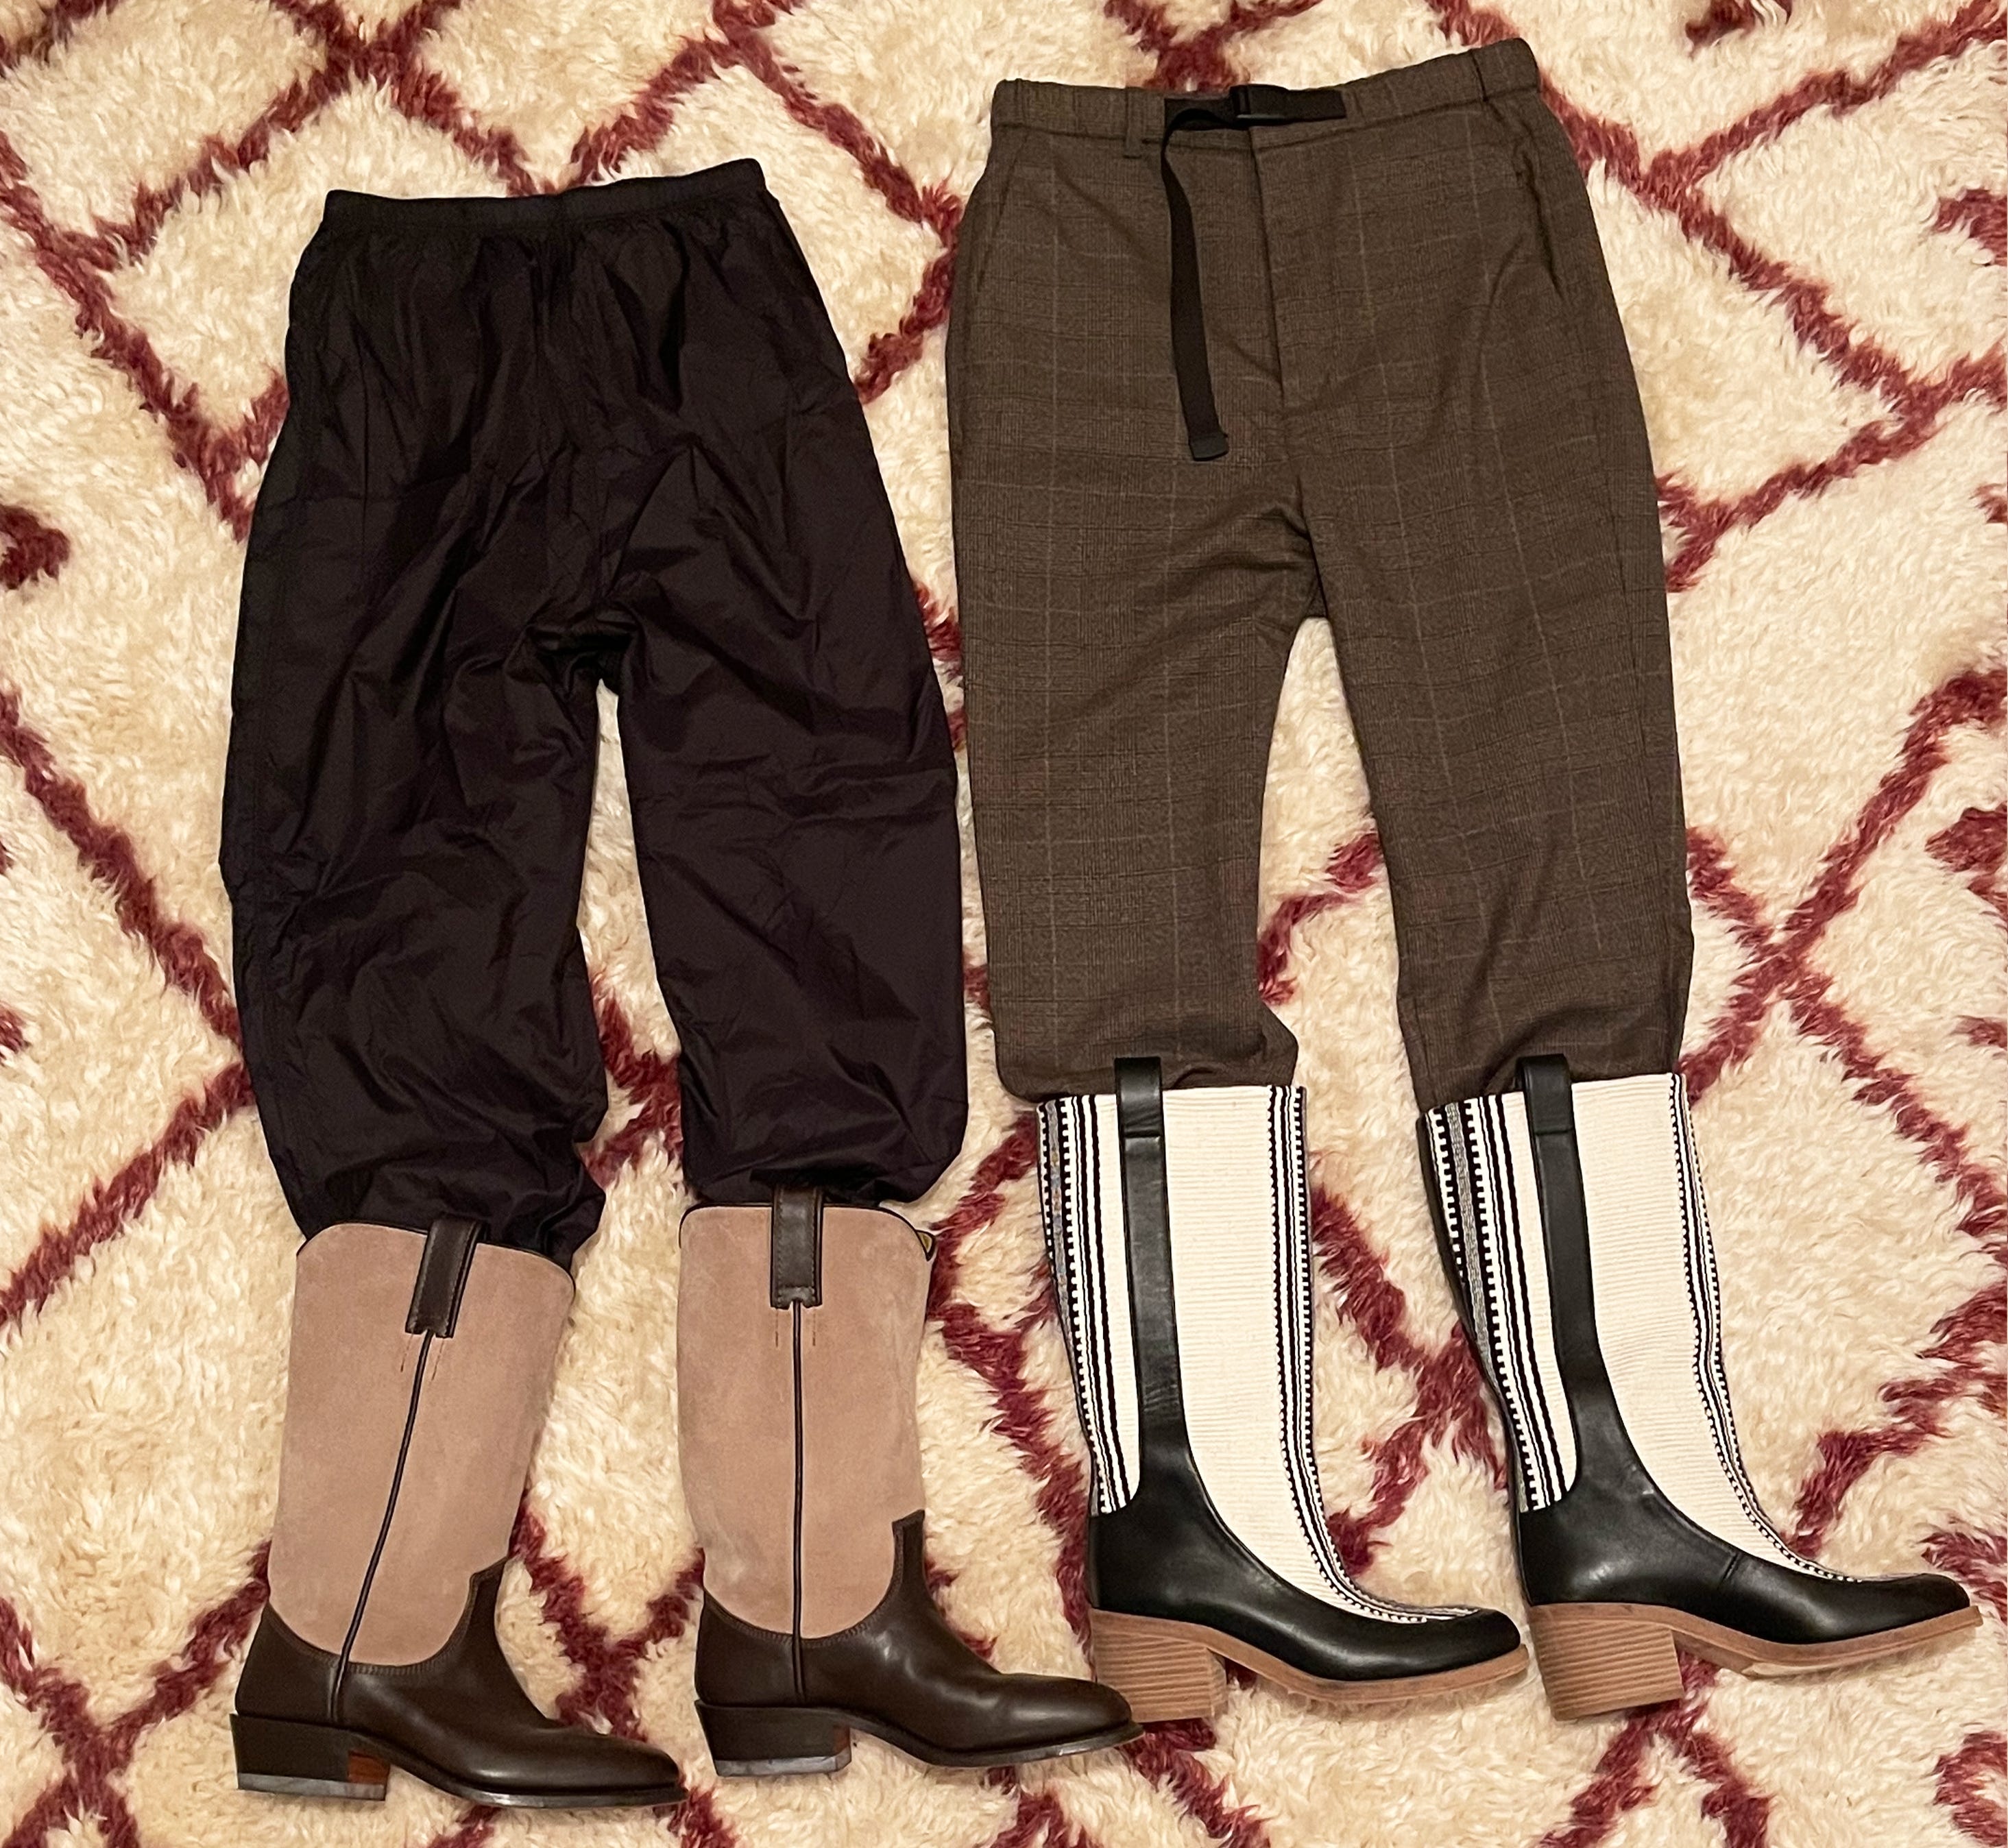
Ideally, the boots are mid-calf height so the pants have enough room to sit on the leg and move slightly before being stuffed in.

A pair of “shlubby” pants can be instantly elevated with this technique. A jogger or warm-up pant works especially well because the elastic ankle keeps everything in place (no high sock necessary), creating just the right amount of puddle where it meets the boot’s shaft.
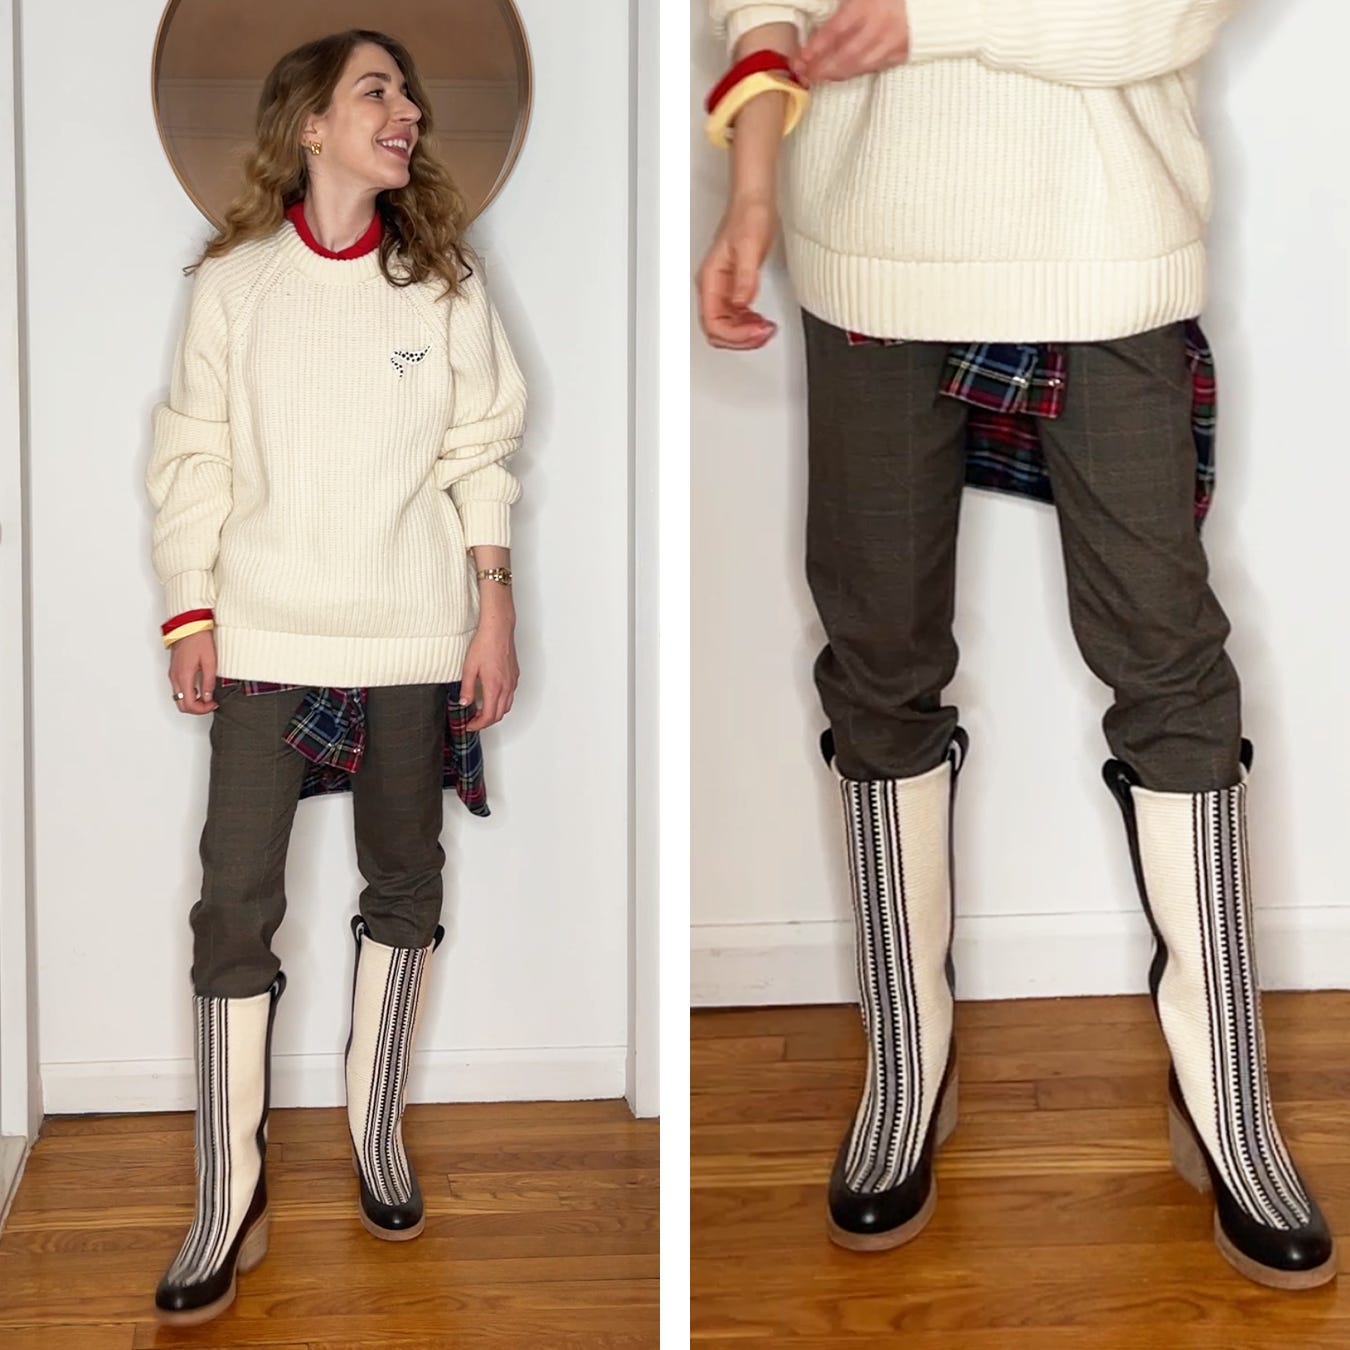
And the same goes for dress pants, but in the opposite way. Stuffing them into a boot makes them feel more casual and easier, a little undone in the best way.
Whether you’re cuffing, scrunching, or stuffing, this is the noncommittal sort of cuffing worth doing year-round but especially in the months when layers pile on. Add a touch of personality and individuality to your outfits by simply manipulating your clothes.
So, cuff, scrunch, and stuff on!
xo,
Eliz
cuff guide is so good! love the sezane flannel too!
*immediately cuffs jeans.
The pink blazer/cowboy boot look is incredible and would also be worn by both Johnny and/or Baby in Dirty Dancing.